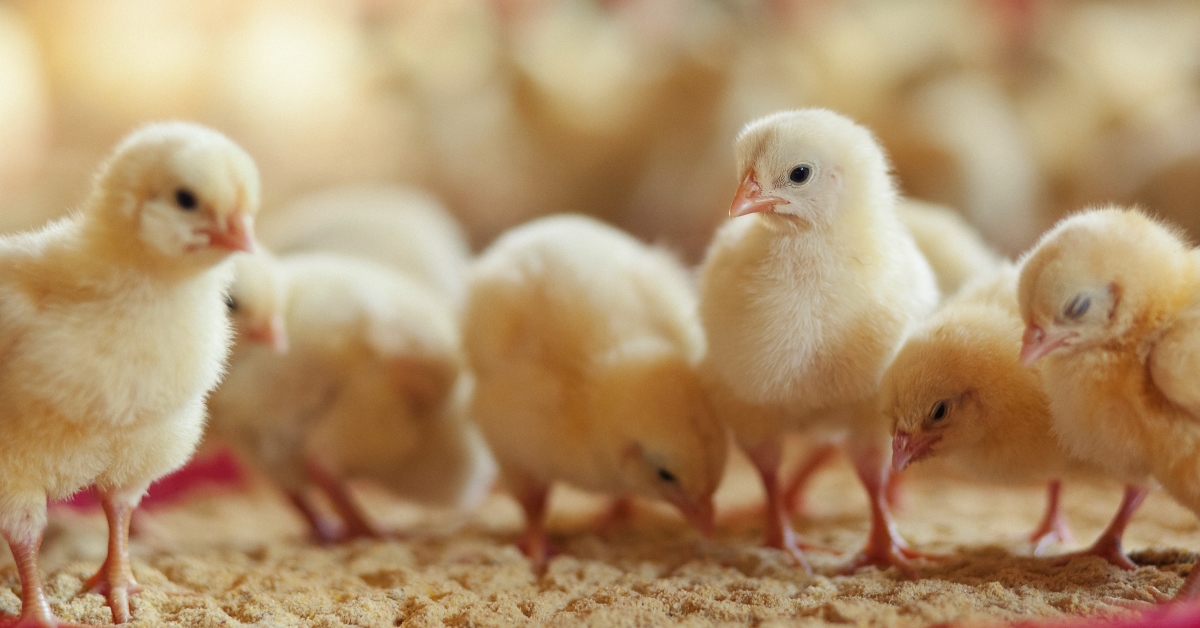
You’ve decided to enter the wonderful world of raising your own chickens as either layers or broilers. Maybe it’s been a while since you started your last batch of chicks, or you might be new to the game altogether. Either way, with a little forethought and a few supplies, you will be hearing little “cheeps” in no time.
The first thing you need to decide is which breed you’d like to raise. Are you looking for hearty breeds—like Golden Comets—for brown egg production? Or, a nice broiler bird, such as the White Plymouth Rock? Maybe you want something more fashionable like the Silkie? Don’t worry—while there are many different breeds, they all share similar needs in the beginning.
During the hatching process when a baby chick is pipping out of the eggshell, it pulls the remaining egg yolk into its body, giving it a food supply lasting a day or two. This is what allows them to be shipped safely through mail. It’s also why we can spend more time creating their new environment instead of worrying about getting them to eat as soon as they arrive.
Helpful housing tips:
- Keep chicks in a draft-free environment, but make sure they have adequate ventilation.
- Plan on one square foot of floor space per chick until they reach 12 weeks of age.
- There are many options for bedding but stay away from fine sawdust because chicks may inadvertently eat it.
- To help clean up when the birds are away, first place a couple of layers of newspaper on the floor, followed by approximately four inches of bedding—try paper towels at first if the newspaper proves too slippery for the chicks at first.
- Along with making clean up easier, the paper barrier helps discourage the chicks from eating the bedding.
- Keep the bedding dry to reduce the risk of disease. If wet spots do occur, add dry bedding rather than removing the wet to keep molds and other hazards from being released into the air.
Next, you need a plan to keep the birds warm. If you don’t have access to a commercial brooder, heat lamps make a great substitute. Position the lamps so the temperature at “bird-level” is between 90 – 95 degrees when they first arrive. Raise the lamp each week just enough to lower the temperature by five degrees. In about a month, you will reach 70 degrees. At that point, the chicks are fine to go into almost any environment.
Be careful not to place the lamp too close to the walls: If the chicks get too cold, they may pile on top of each other and suffocate the birds on the bottom while trying to get closer to the heat.
Place the heat lamp towards an edge or end of the pen with the birds equally spread between the light and the rest of the pen You can use a chick guard—or cardboard fence—for the first ten days to keep the birds closer to the heat, feed, and water. Use 15 watts of light per 200 square feet of floor space, keeping it on 24 hours a day for the first week, 16 hours a day for weeks two through six, and 13 hours a day for weeks six through 12.
In terms of feed and water, you can pick up feeders and waters at your local farm supply store or order online. For water, avoid bowls since they can spill, and chicks can fall in and drown. For feed, utilize a chick starter feed, like Homestead® Chick Starter/Grower—this feed is formulated for optimal development of the digestive tract and other internal organ systems. Additionally, you don’t need to offer grit when supplying Homestead Chick Starter/Grower. Additionally, if you want to keep your new birds hydrated when they first arrive home, feel free to add an electrolyte, found at your feed store, to their water.
As you’re getting started if you run into any specific problems, there are all kinds of resources online and through Hubbard Feeds to help you out. Visit the Hubbard Feeds website to learn more about Poultry care and nutrition: www.hubbardfeeds.com/species/backyard-poultry.
Follow Homestead Feeds on Facebook and Instagram for more great info!
Facebook: @homesteadfeed (www.facebook.com/homesteadfeed)
Instagram: @homesteadfeeds (www.instagram.com/homesteadfeeds)
- Log in to post comments